When Rob brought us his 4Runner, it was pretty cool to begin with. It sat on Toyota axles, 40″ Super Swamper tires, dual t-cases, 22RE motor with W56 transmission, lockers front & rear, Alcan leafsprings all the way around, long travel shocks, crossover steering with hyrdo assist and a Budbuilt cross-member (to name some things).
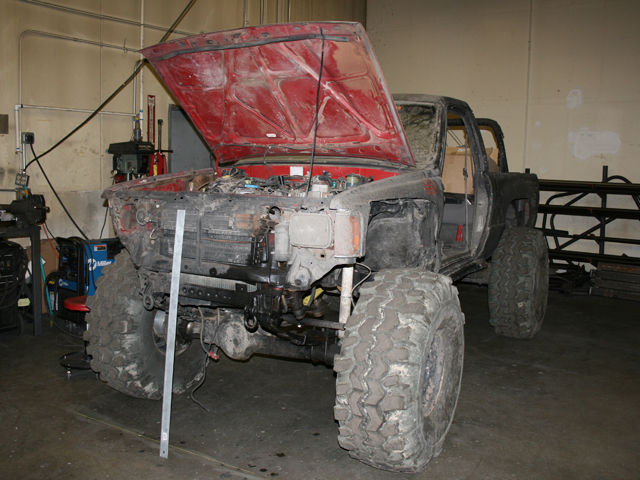
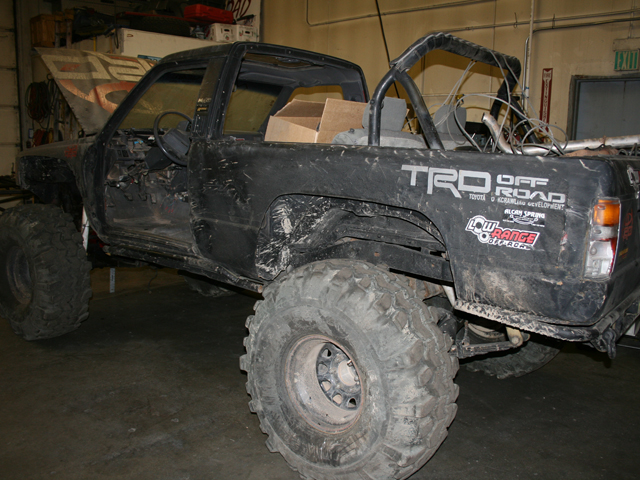


Rob decided that wasn’t good enough though. He wanted bigger, badder and WAY cooler. After talking to him and getting the plan settled, we started work on his 4Runner. Some of the things to come were: a full tube chassis, stinger bar, Corbeau seats (front buckets and rear bench), new shock mounts, floor pan and firewall. We were to pay special attention to the backseat area, where Rob’s children would be riding sometimes on wheeling trips. When this project is all said and done, we will have the tube chassis available for sale as a product.
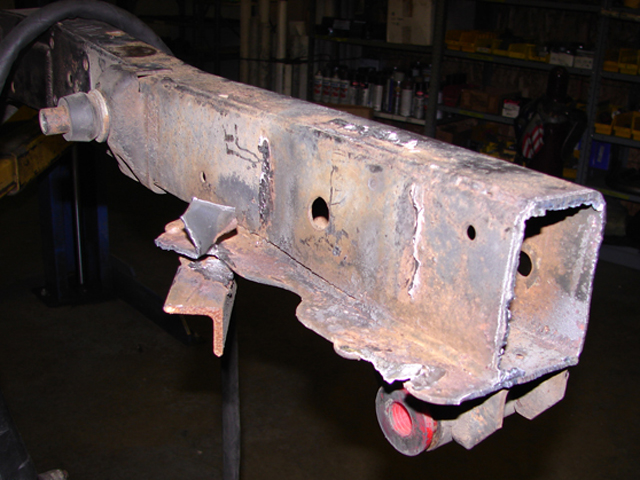
We started out by cleaning off a frame we had here. We would be using this frame because the frame on Rob’s 4runner had a crack that was not fixable so we could not use his frame for the project.

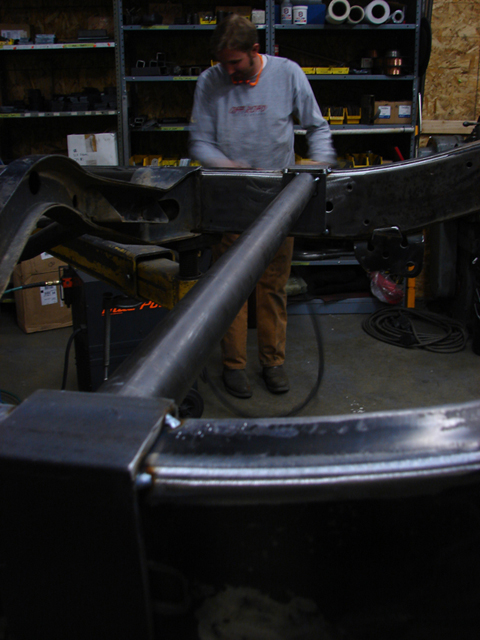
Once the frame was cleaned up, the work really started. The rear portion of the frame was removed and the furthest back stock crossmember was removed. This crossmember would be replaced by one we built that was stronger and capped off the end of the frame nicely.
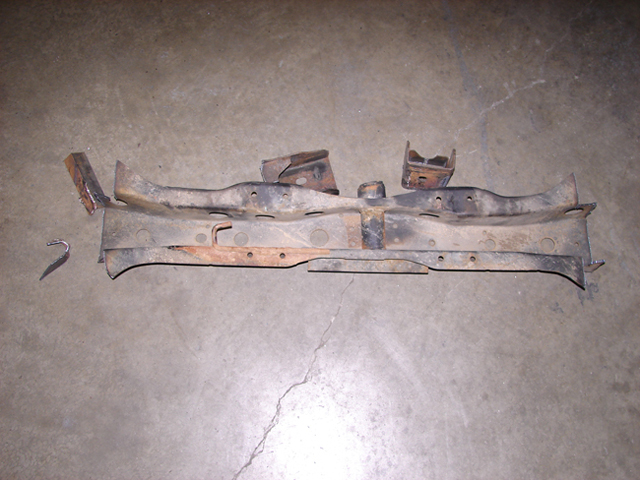

We added a crossmember/frame support in the middle of the frame. Our plans were to remove the factory one so we had to brace the frame before we did that. The stock crossmember would have been in the way of our drivetrain placement and was not as sturdy as our replacement. We also added in more frame tabs to be frame brackets for the cab mounts and also aid in making the structure stronger for shipping as a whole when the product is finished being developed.
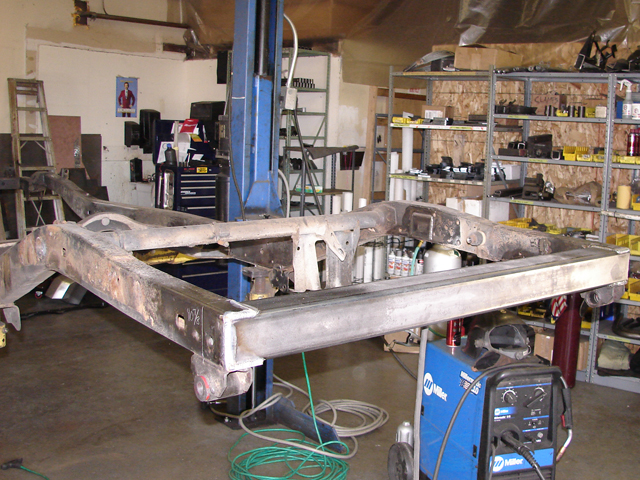
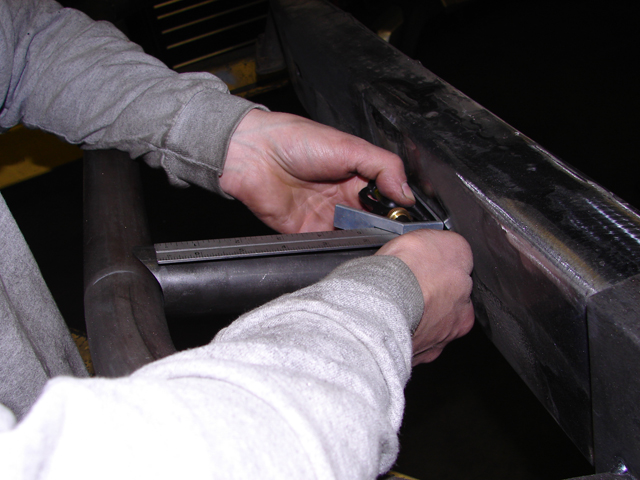
As we continue this project, we continue to clean the frame up. Our next project was to add the floor and sliders. In the overall design of the sliders, the front goes up and the rear goes down, this is to make sure there are no tire clearance issues. We also began to measure the bars for the slider braces.
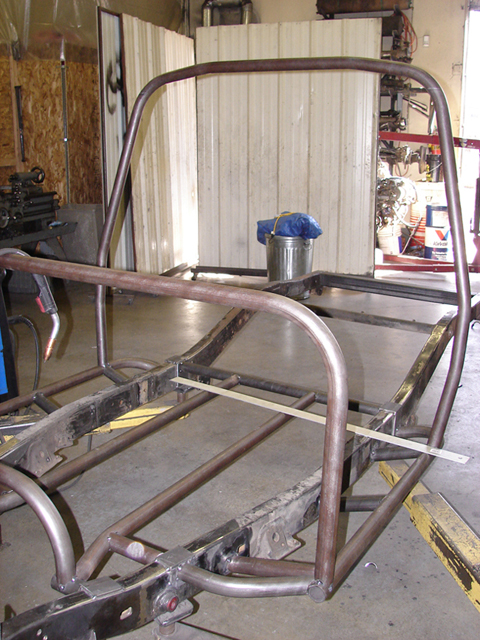
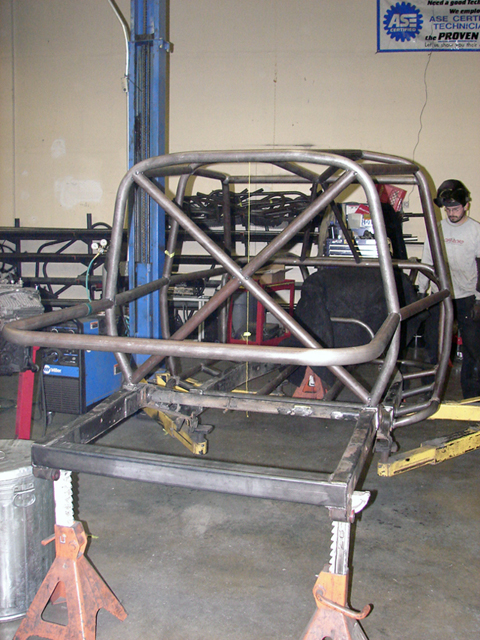
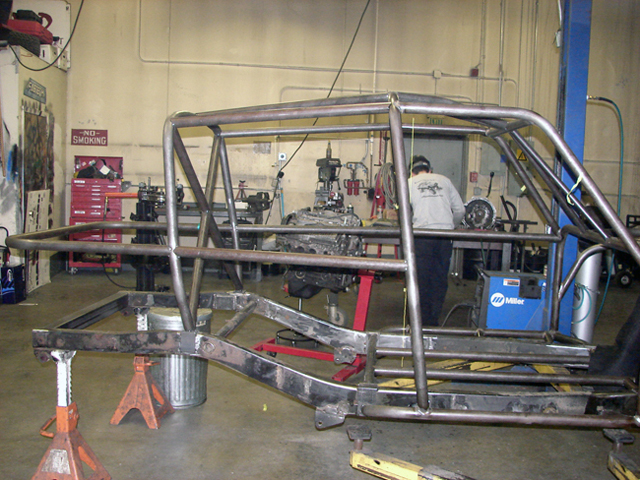
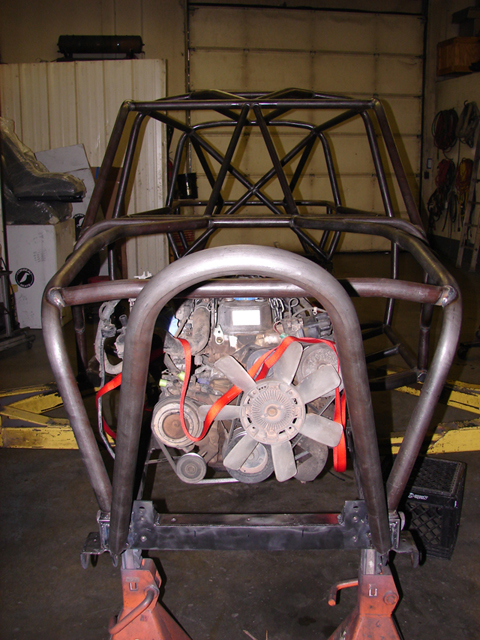
The next step of the 4Runner to Buggy project was to get the sliders fully braced, and the main hoop and firewall hoop in place. On top of that, the a-pillars were bent and completed, the drivetrain hump was completed and the motor was mounted.
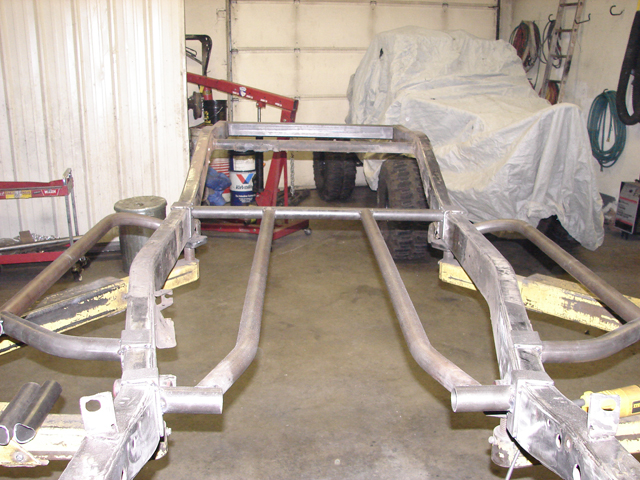
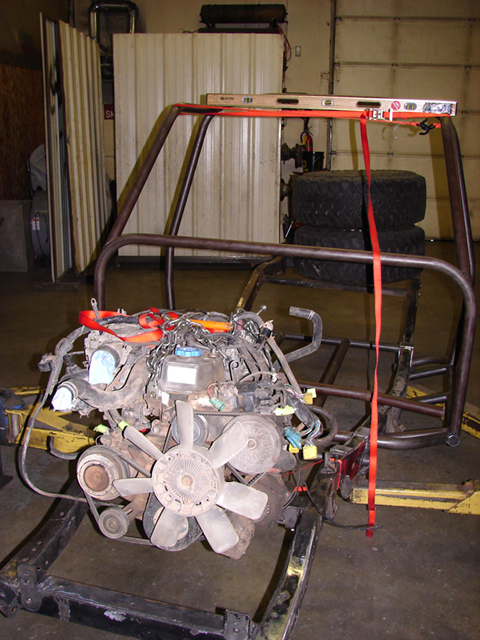

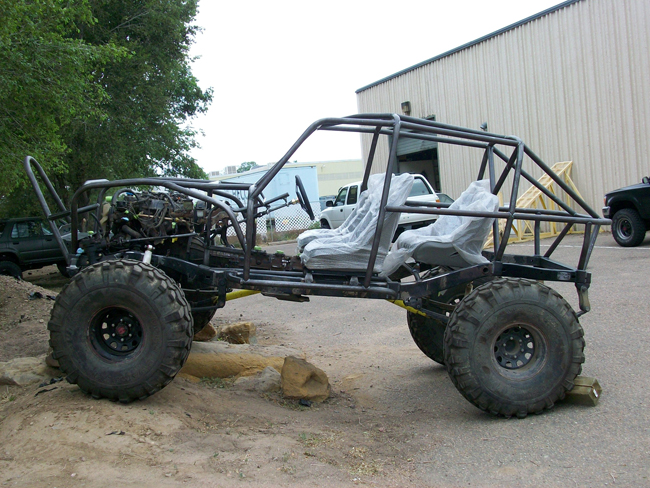
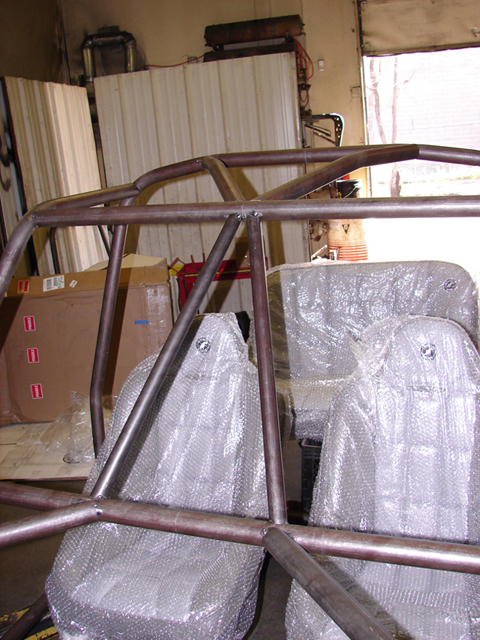
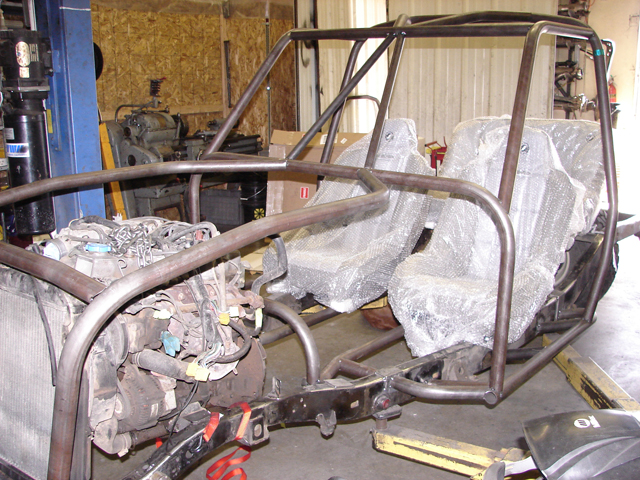
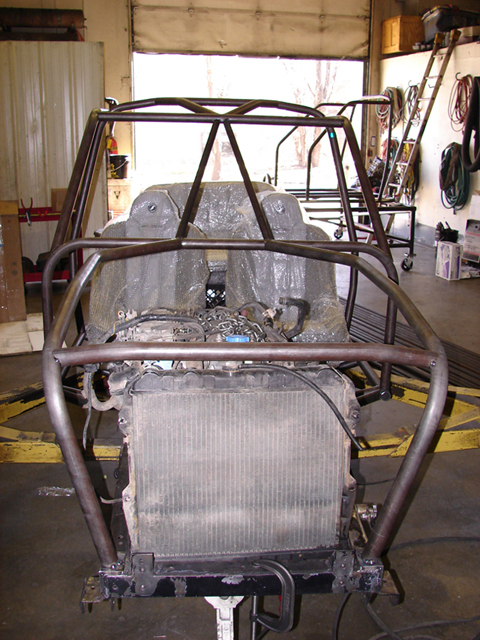
Alright, this 4runner/truggy REALLY looks like a vehicle now. Got the windshield bracing in, the roof bracing in, and “fenders” and hood/grille bracing. Granted there is more tube to come, but it really looks like you could ride in it now. Especially since they threw the seats in for test fitting. The seats will be mounted about 3″ higher than they are in these pictures, but it gives you an idea!
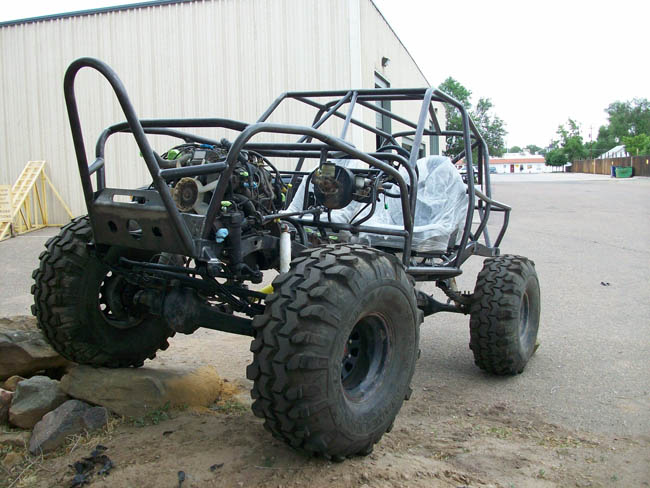
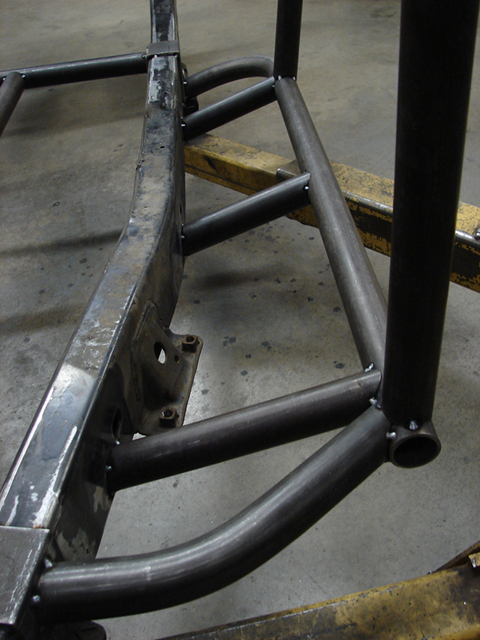
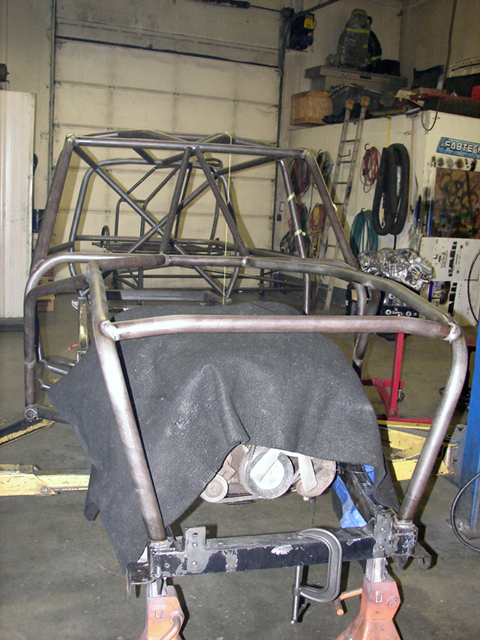
The fender tubing has been completed. The notch that was needed was pretty insane and took a little bit of time to get it perfect. This tube is to add strength and bracing to the fender/hood area of the vehicle.
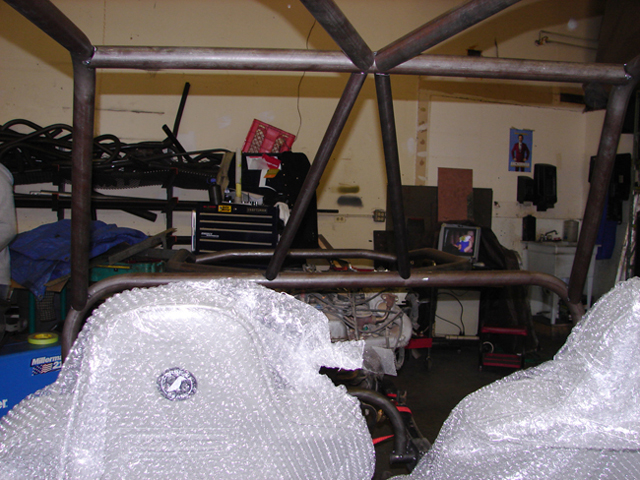
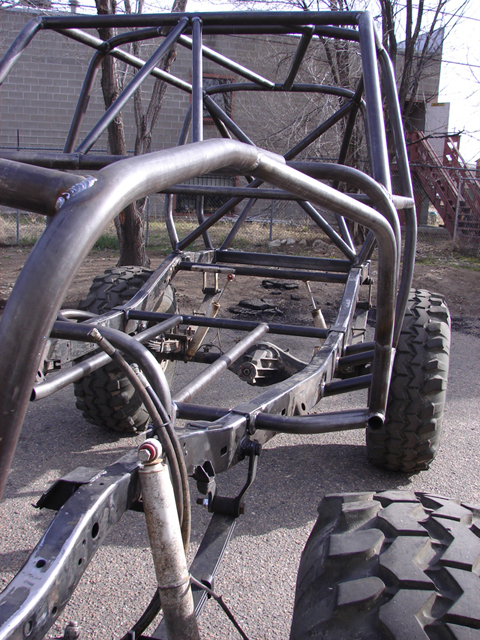
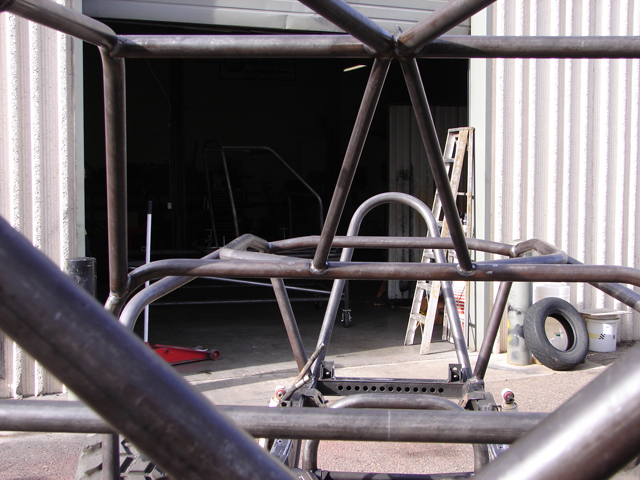
The rear seat hoop has been completed (the hoop behind the rear seat area). Also we hung up some string to give an idea of where the chassis braces would be going.


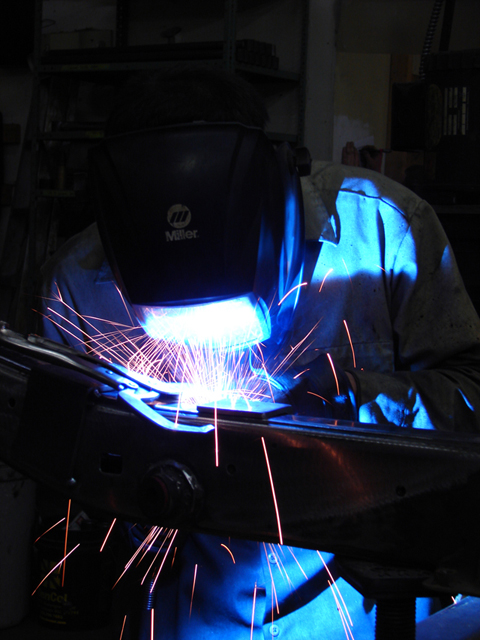
The rear most hoop now has cross bracing. This will add strength to the chassis, and security to the rear passengers. The rear horizontal bar has been added as well. There will be more bracing to this soon to come. Also some of the bars have been fully welded in, whereas before they were all just tacked into place.
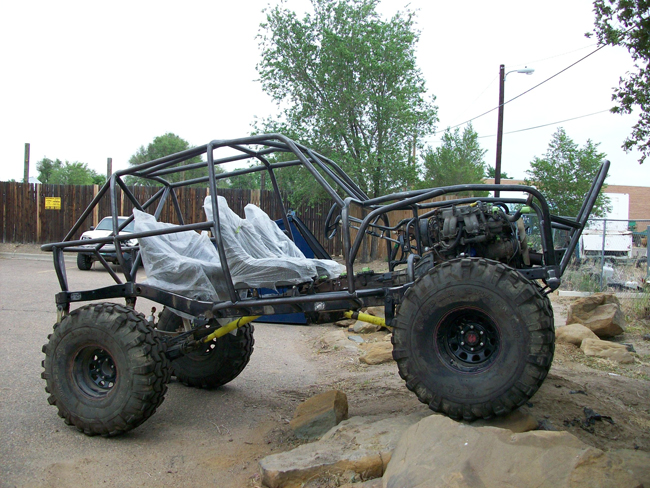
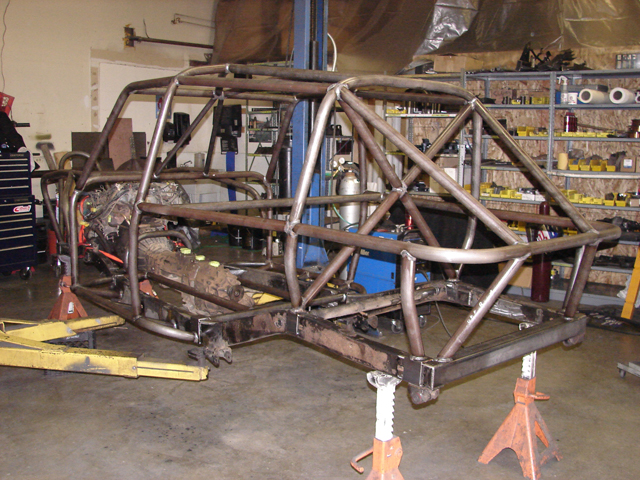
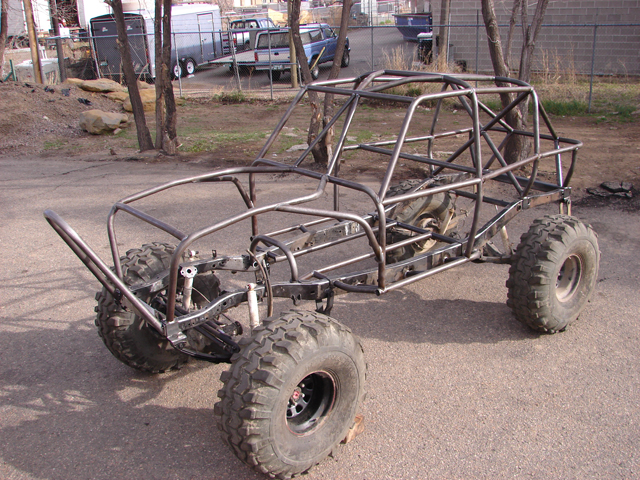
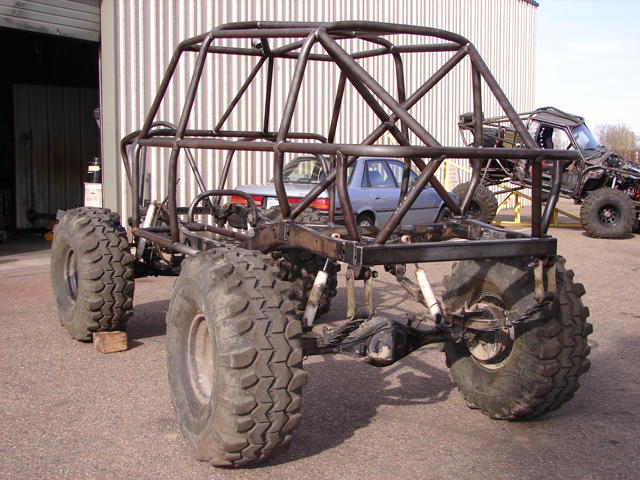
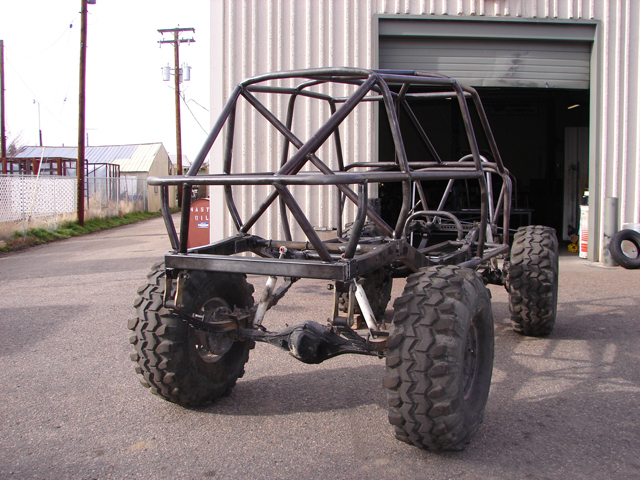
The chassis that we will be selling as a product is complete. All of the tubing is bent, in place, welded and looking good. The best part is that it still resembles a Toyota! You will notice that the door bar is in the driver side, but not the passenger side. It will be in both but for the pictures we only had one in. The rear seat area has been encompassed in a cocoon made from tube. This will add a great deal of security to rear passengers and the chassis integrity overall. The tubes from the rearmost hoop to the horizontal bar are in, and continue all the way to the bottom of the frame. We also added the front stinger, which will be optional on the chassis product. The side of the horizontal bar has also been braced down to the frame. We even put the axles under it to take the chassis outside and get some really good pictures for you!


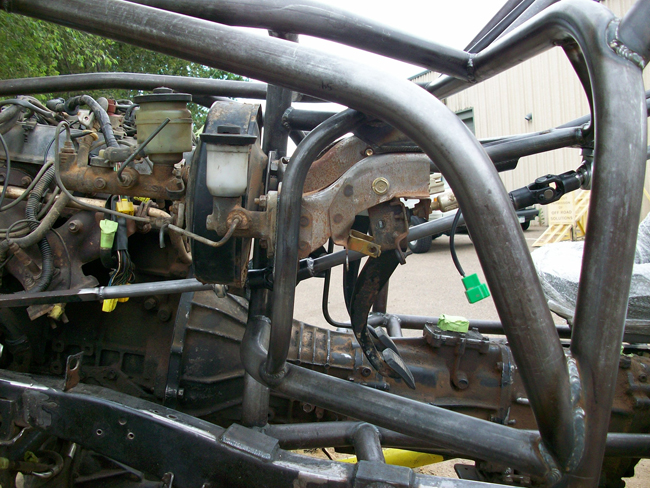
After much work, the project is finished. The engine and drivetrain have all been installed, the wiring is completed, the seats are installed, the steering components and pedal assembly are done and the vehicle has been picked up by its owner to continue with its next phase of building. We look forward to seeing what the completely finished project looks like, but are definitely happy with the way our part in the build turned out.