NOTICE TO CUSTOMER: The quality, strength, fit, and finish of this product is the responsibility of the installer and/or customer. This is a weld-on kit intended for experienced and competent fabricators with at least a basic knowledge of suspension fundamentals. This brackets are intended to be MIG or TIG welded (using at least a 220 volt power source) to the vehicle with the proper equipment and adequate skill.
Read all notes completely before beginning installation. The customer or installer is responsible for contacting ORS with any possible problems before welding the brackets to the frame. These brackets carry no warranty.
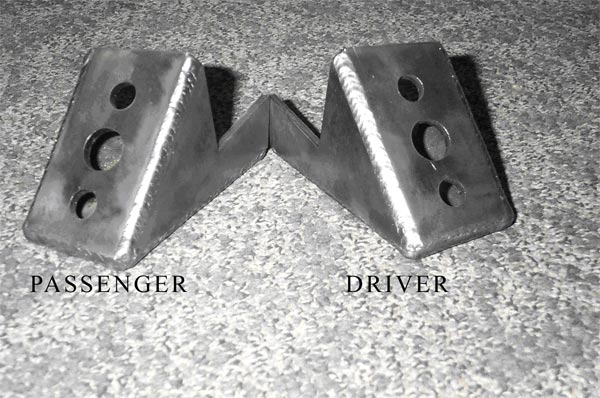
- These brackets are “side-specific,” see illustration.
- Thoroughly clean all paint from the frame around the mounting area.
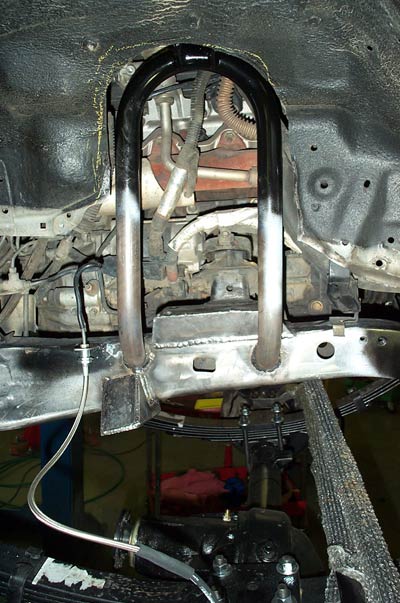
- ORS recommends compressing the suspension on each side to determine the bracket placement. “Ramps,” loading docks, rocks, stairs, and forklifts all make good testing devices. Compressing the suspension one side at a time will be the best real-world simulation. With the front suspension compressed to the desired location and the truck securely parked, measure and mark the fore-aft location of the brackets on the frame. The bumpstops should contact the leaf springs just behind the u-bolts.
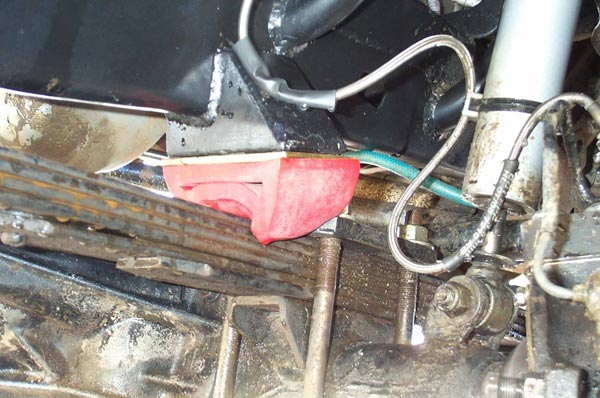
- At the same time determine the height of the bumpstop to be used. ORS recommends that the shock absorbers be the #1 determining factor. The bumpstops should stop upward movement with about .5″ of shock rod “exposed.” Tire clearance should also be taken into consideration. When calculating bumpstop height, remember to subtract any “air gap” from the bumpstop’s compressed height.
- ORS recommends a bumpstop with a 2″-3″ compressed height. This works very well with the average SAS ride height and 12″-14″ travel shocks. Energy Suspension PN 9-9109 (2″) and Daystar PN KU09014 (3″) work very well.
- Before doing any welding, be sure the engine, brake, and steering components are all well protected from wayward welding debris. Disconnect the battery before welding.
- Firmly tack-weld the brackets in place. Install the bumpstops and compress the suspension again to test the bumpstops and brackets. Slide the brackets fore and aft or change the bumpstops to find the desired bumpstop height.
- Don’t fully weld the bumpstop brackets to the frame until all testing is complete. Painting the brackets and affected area is highly recommended.